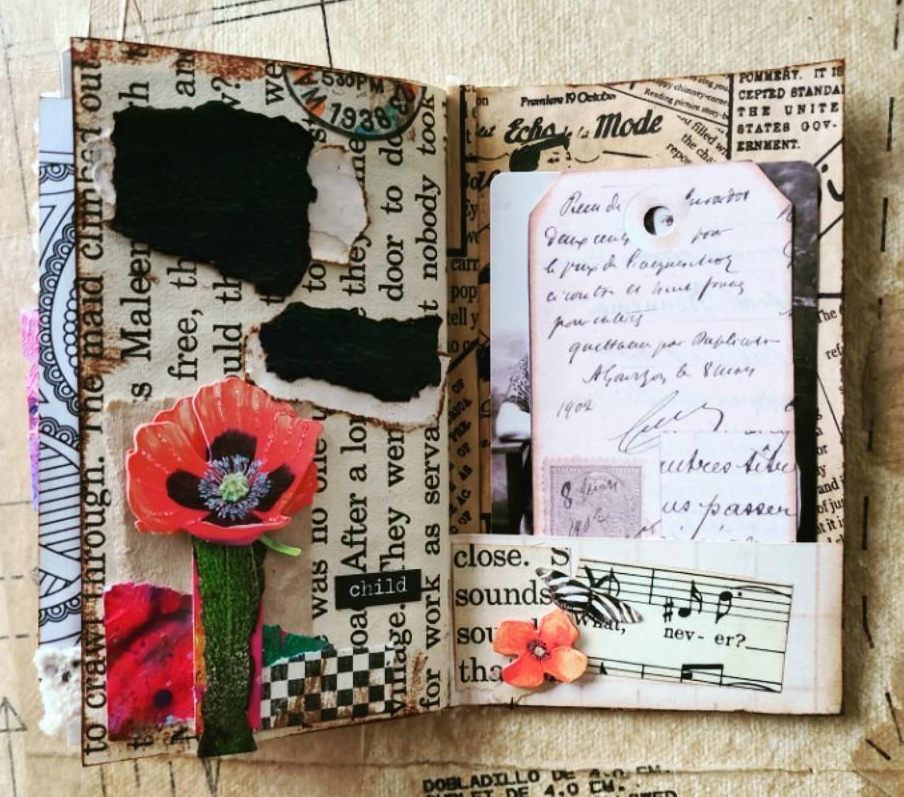
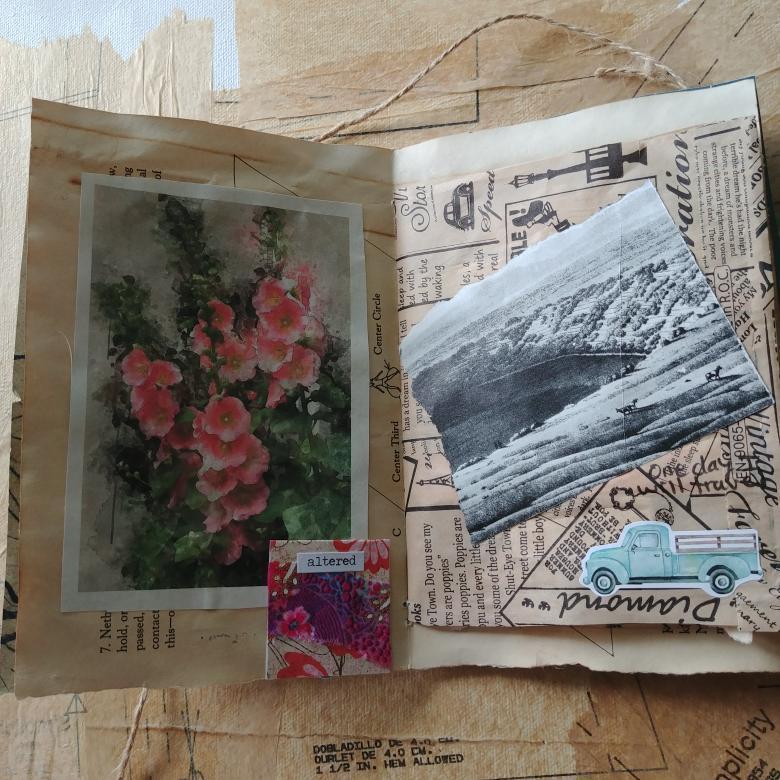
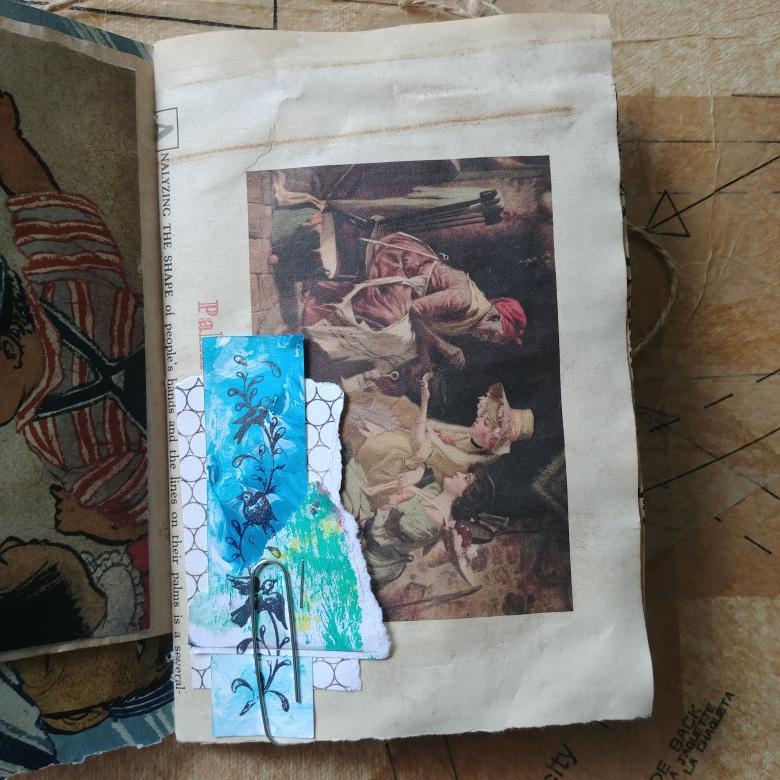
This is the last page in this morning journal I’ll decorate. I wanted it to be extra special. A memory of what I created the most in my childhood. I was always coloring, painting, sketching, doodling landscapes, water and skies whether it be at home, church, school, camp or at friends’ houses. I never thought about it really, I just created them. Maybe it’s being in the constant frame of mind of nature and God’s glorious creation. This page is a dedication to those memories.
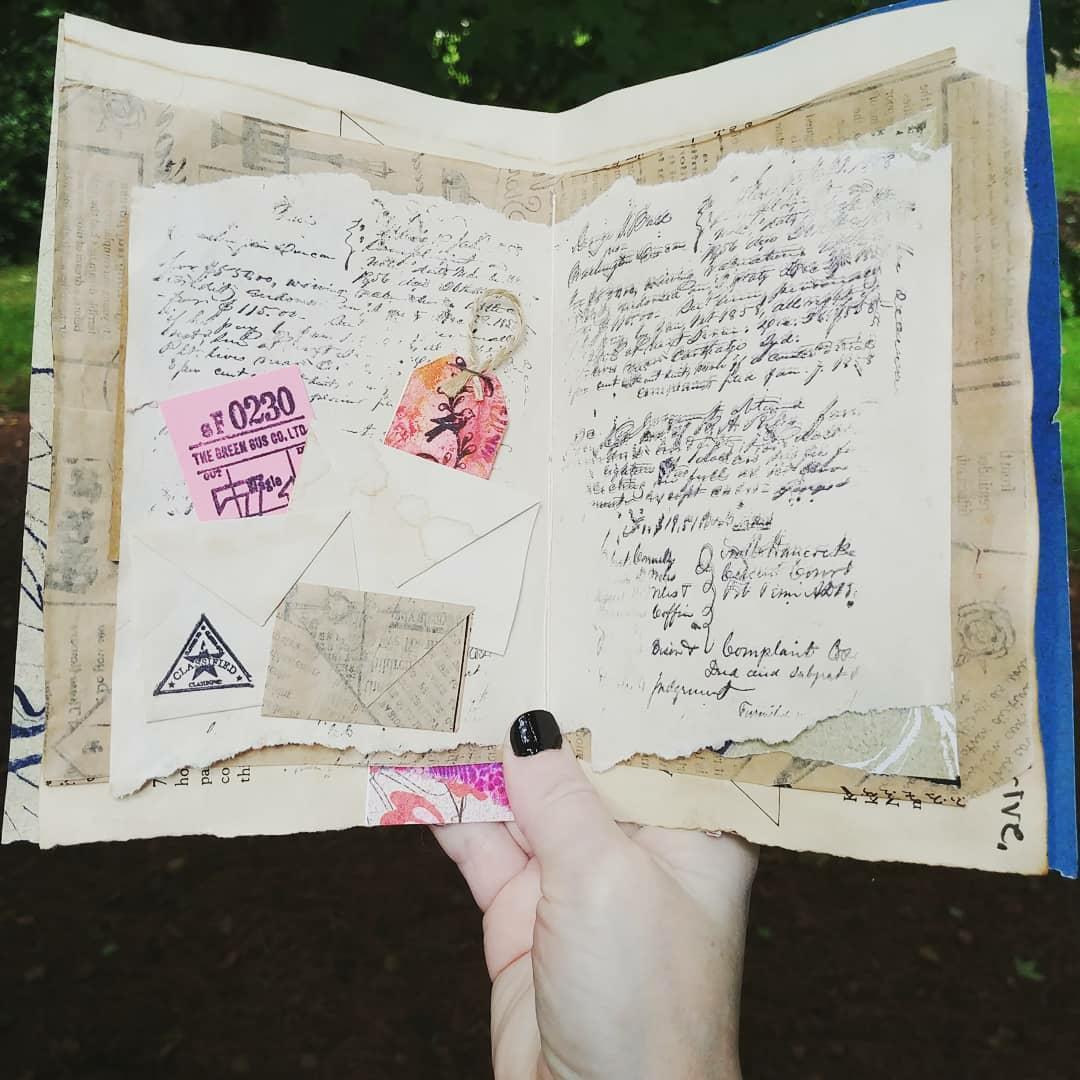
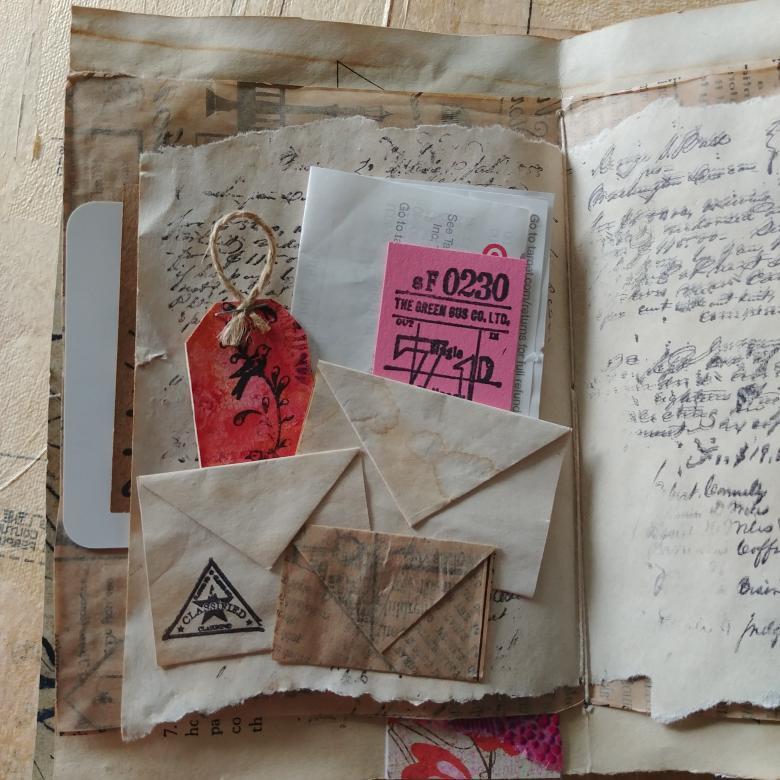
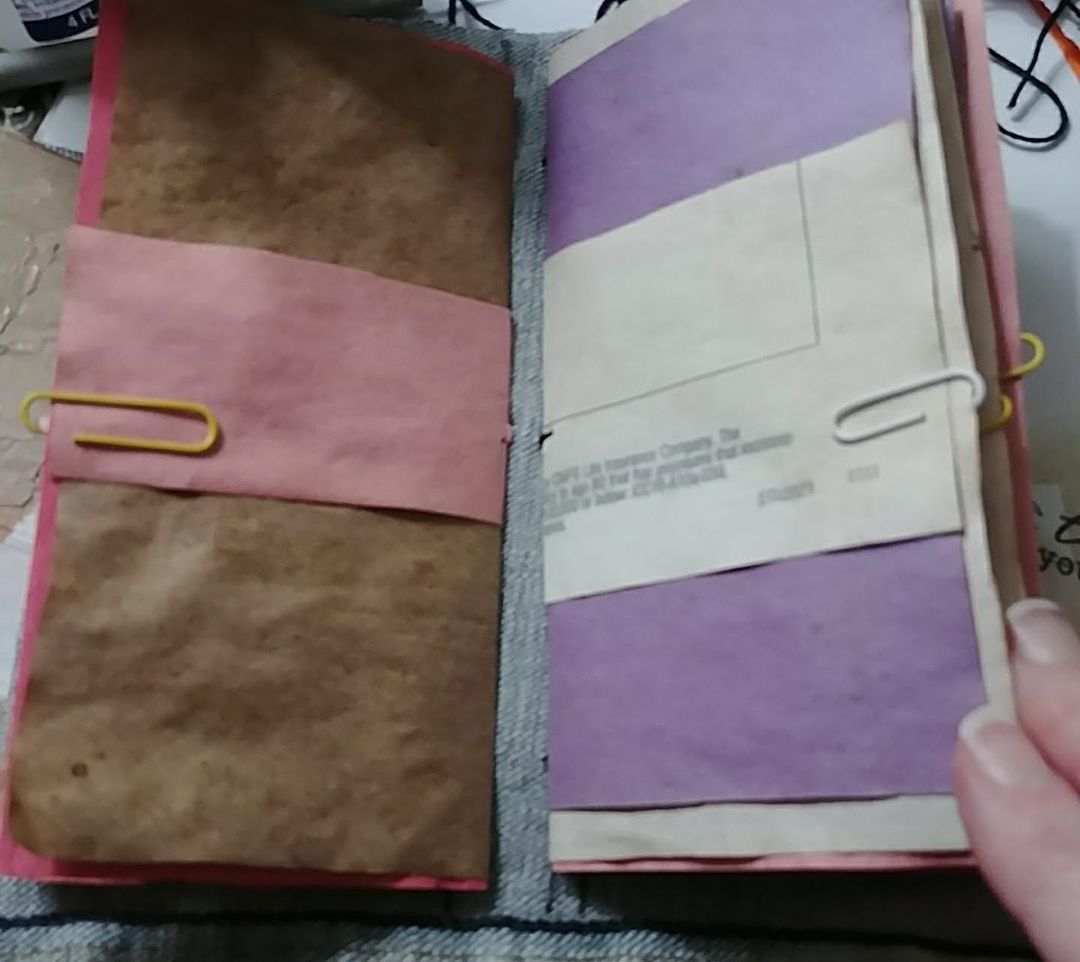
The flower stem is from one of my painted papers I love to create and every time I glance at it, the stem reminds me of a zucchini peal. Ha! The ephemera in the pocket to the right side of the spread is for journaling. I like to keep my journaling hidden for the most part.
I really enjoyed working in this journal I made and I cherish writing in the morning time. Every morning is a new day with endless of possibilities. It is also a fresh start. Why not make the most of it?
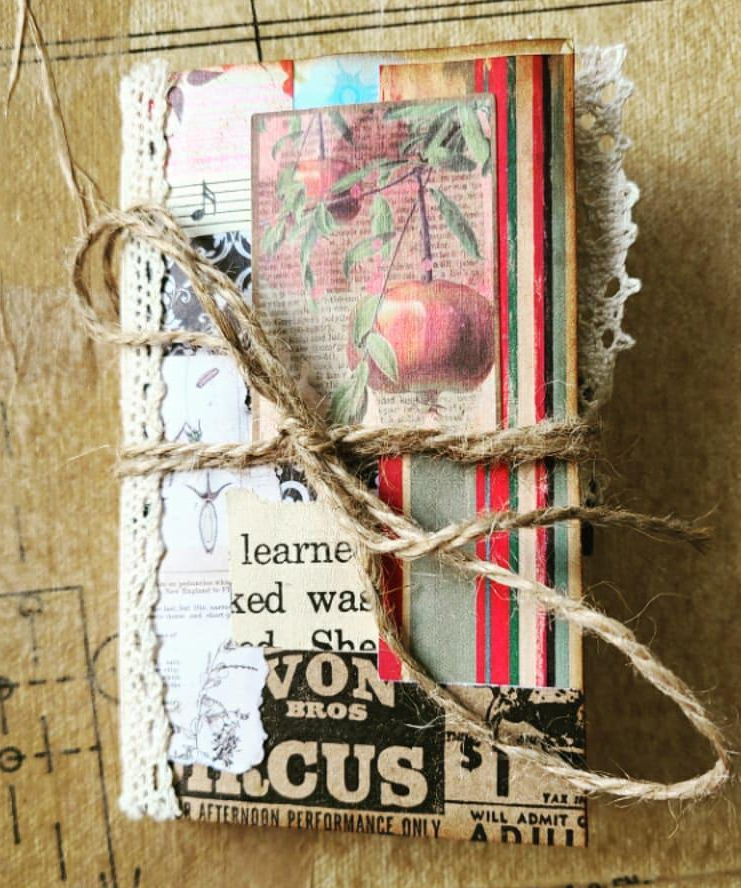
I made this journal from scraps of paper that I collage onto a bigger piece, from mail packaging, for the cover. The signature is a selection of scrap papers, including vintage papers. I would say that this journal comes very close to be considered a junk journal. It is definitely a mixed media journal of created and found objects.
Do you journal? What do you like most about it and how does it impact your life? These are questions to think about.
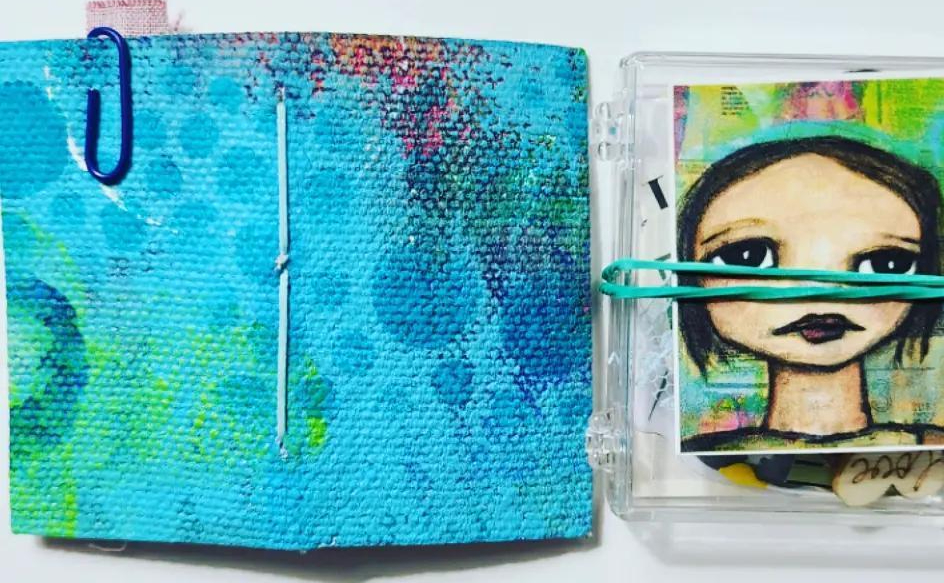
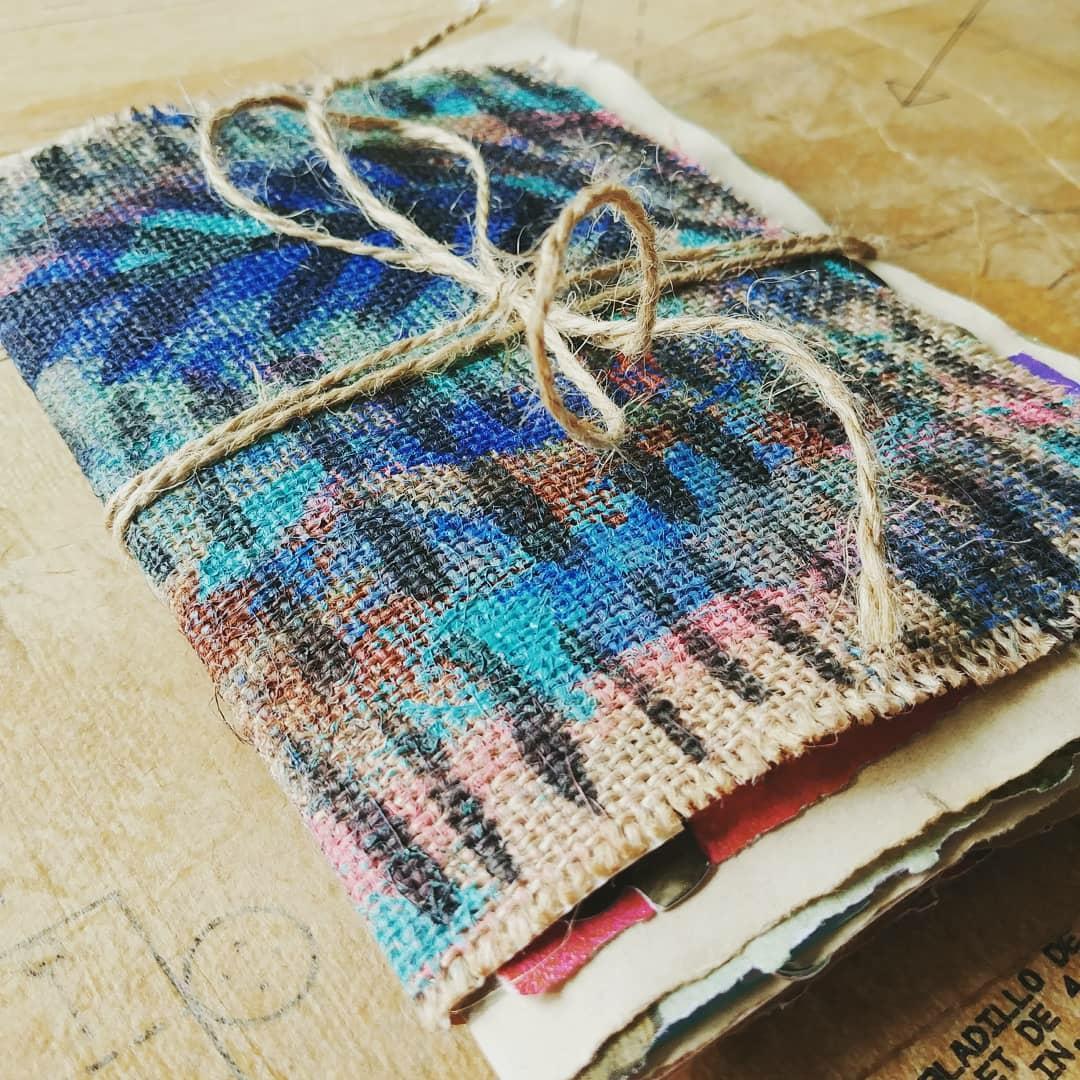
I acquired a mini journal from a fellow crafter and I absolutely adore working in it. It is so tiny and at first, I thought it might be a challenge to create it but I find it easier than I thought! It is such a great way to use up your little bits of paper, scrap fabrics, small images and what not.
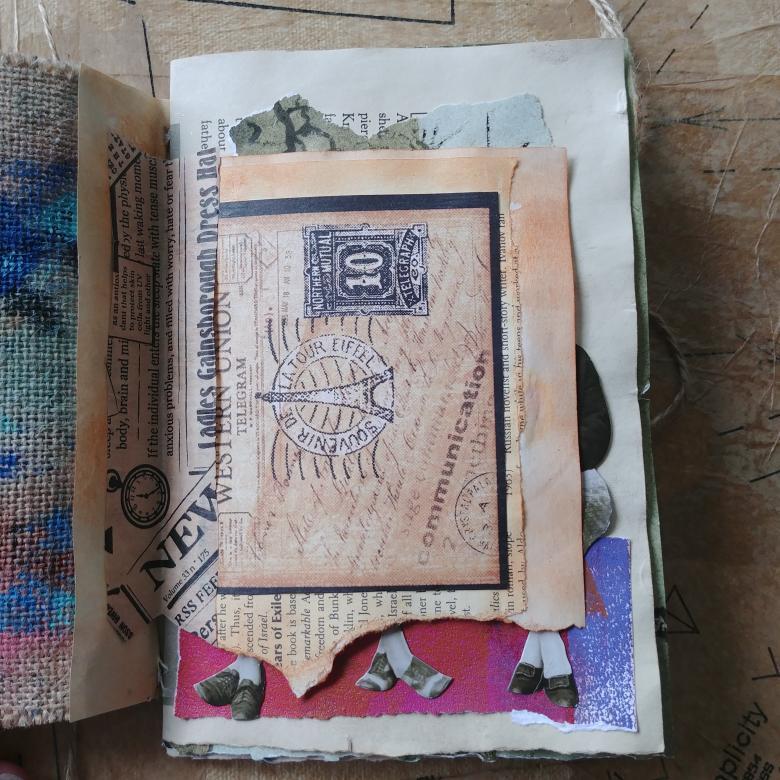
I created a page inspired by my longing for extended travel. I added a postage stamp from Maryland with a sailing boat image on it at a port and with the word, “Nowhere”. You can find that page on my Instagram account. I think it would be cool to take a trip with nowhere in mind. Just to get on the road and go where the wind takes you. In this case, this trip would be at sea.
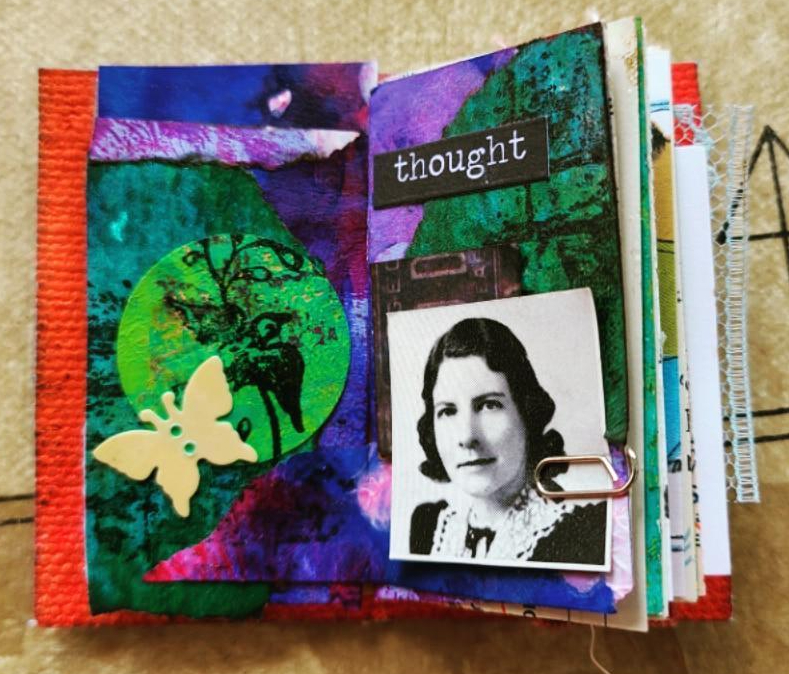
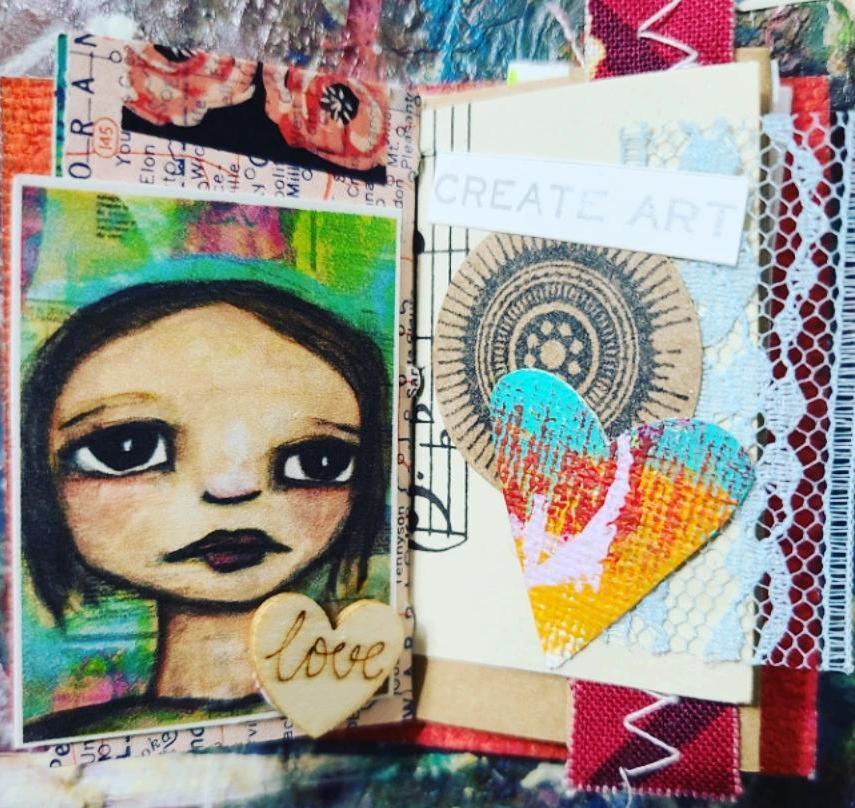
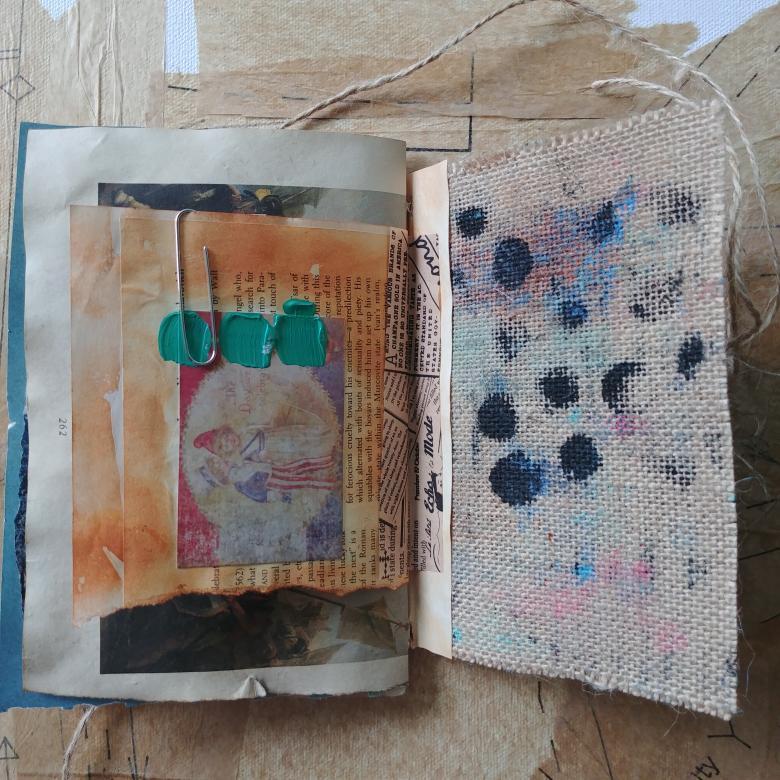
I love how my painted papers worked on this spread. I wasn’t sure, at first, if it would be too bulky. It turned out great and I like the blend of mixed media with the vintage image of the lady.
In the below picture, I used the painted face of a girl that my fellow crafter paints and includes in her ephemera packs. I dig the colors she uses because they are in line with my style. This page is dedicated to my passion of mixed media.
These little journals are perfect to travel with wherever you go. They fit perfectly in purses, backpacks, bags and even wallets! Just add few ephemera pieces to a pocket and take a small glue stick or mini paperclips and there you go!
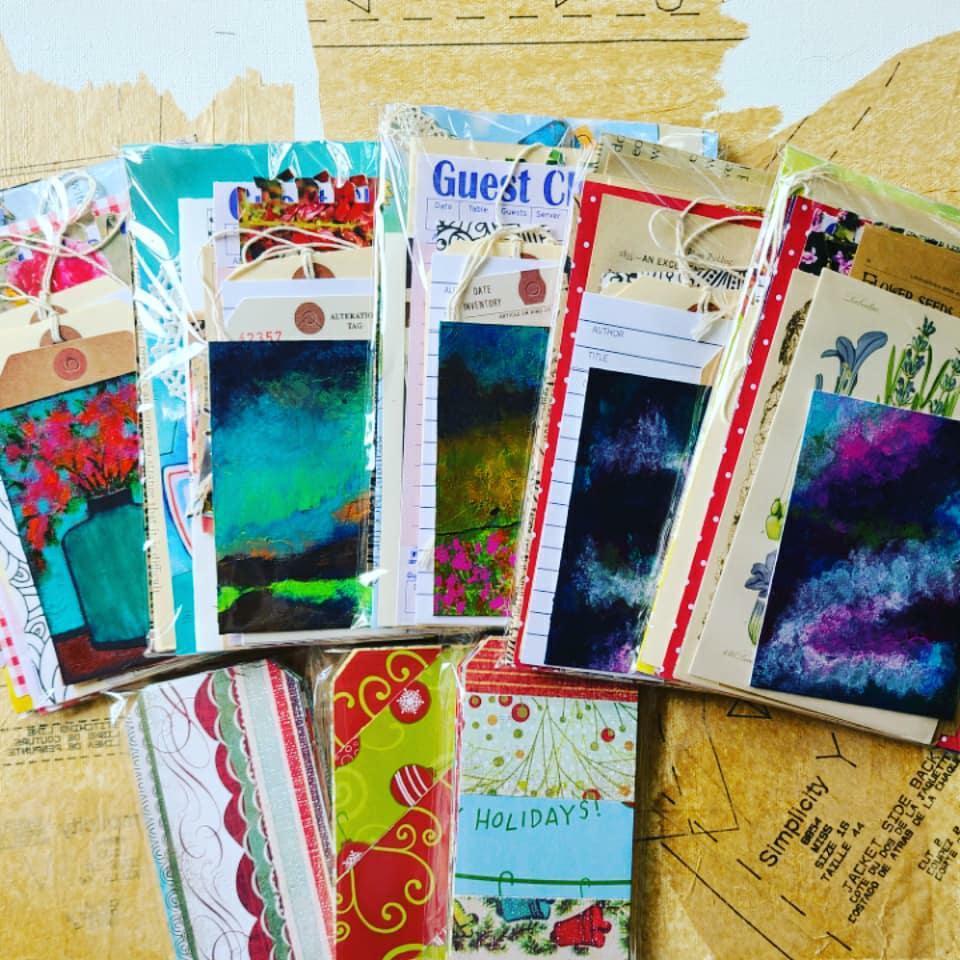
I am selling art, fabric packs belts for journal closures and ephemera packs with paintings on Instagram starting now. All products are homemade by me. The ephemera packs are great for journals, card making and other craft projects. If you are not on Instagram and would like to purchase an item you see, please email me at layeredpages@yahoo.com and I will reserve your item.
My Instagram LINK or copy and paste @stephsatjourney
Fabric Packs
Fabric Pack Information: I’ve got an endless supply of textile material from all sorts of upcycled clothes, scarves, and bedsheets.
Each week, I’ll be adding in new patterns. I can cut fabric swatches up to 12″×12″. Those sizes need to be customized, Contact me for more information about that and if you’re on the lookout for anything in particular.
I use the above mentioned fabrics for my various mixed media projects, including journal covers, pockets, tags, belly bands, card making, bookmark making, collage work, blanket making and they look great!
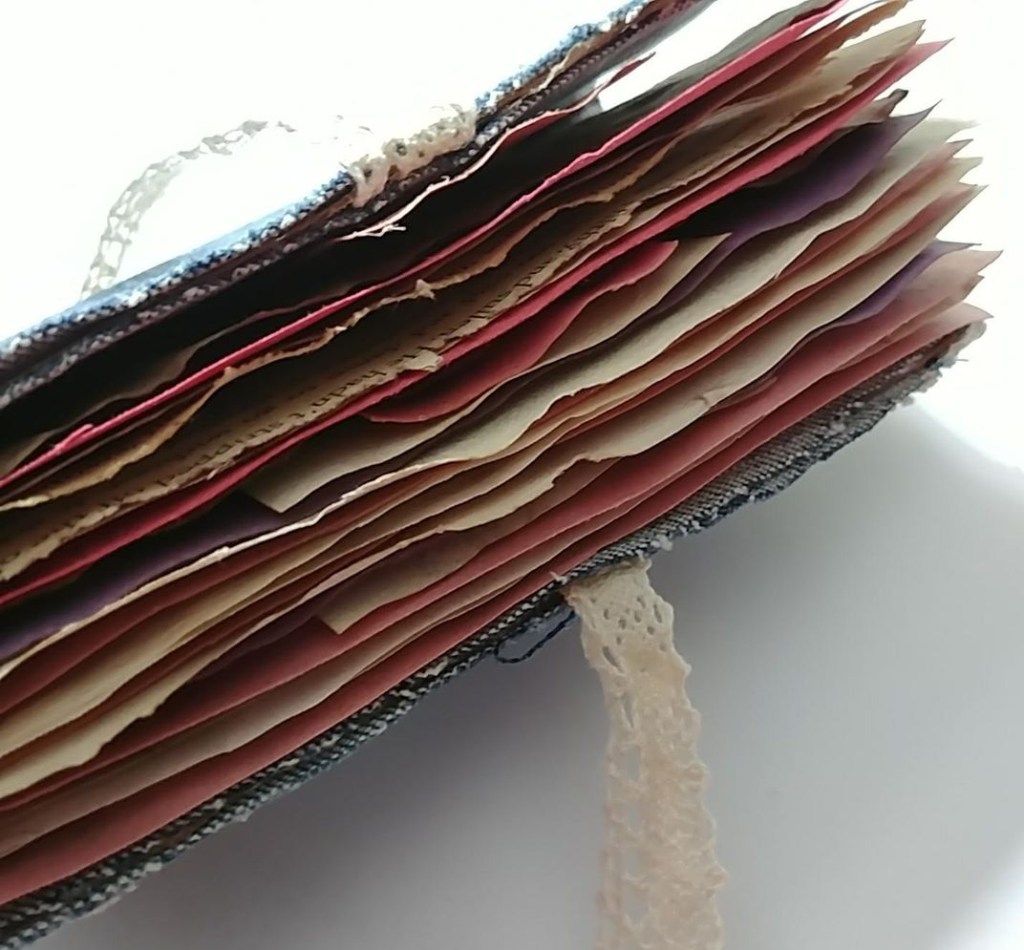
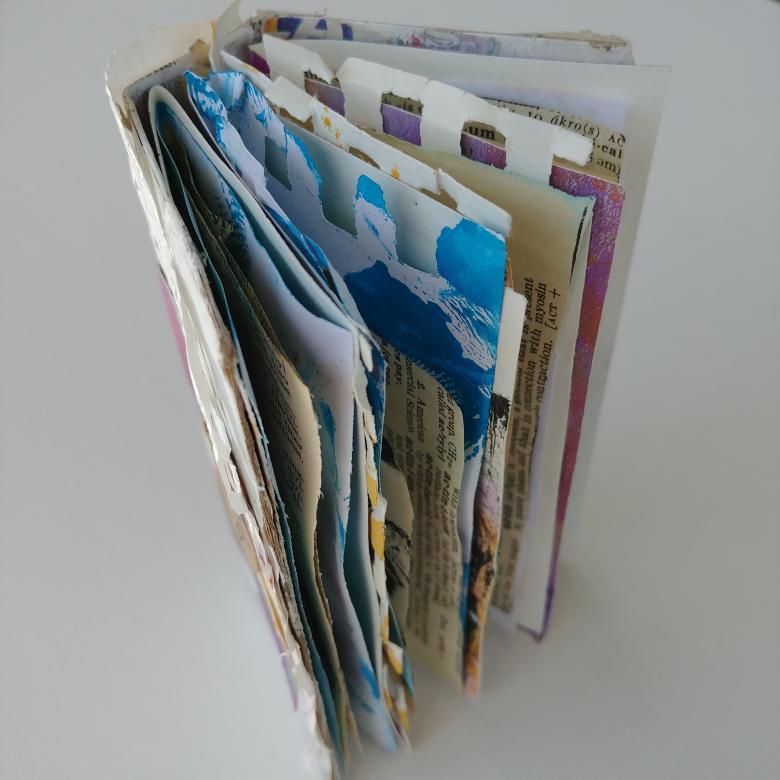
Have you ever taken a journal apart that you wanted to transfer into one signature journals or you weren’t happy with the volume? Yep, that’s me. I love this journal so much and I’ve been working in it for over a year and a half now, I guess. I’m just not happy with how chunky it got and I still want to do lots more journaling in it. My solution was to take the signatures out and make each one individual journals. There are five signatures in all and I can’t wait to create covers for them and show you more. Let me know if you’ve ever done this.
People rework art works all the time. Why not journals, eh?
I’m working on so many projects that I have neglected my blogging a bit. Today I am playing catch up and It was nice to take some time to recharge. Blogging is seriously time consuming but in a good way. Just be sure you are taking care of yourself and learn to pace yourself.
This coming Friday and Saturday, I’m selling more ephemera packs with my paintings and I have a lot of my tags available for purchase over at my Instagram! My mini tags sold out in less than five minutes last Friday! So, be sure to follow me for the chance to snag one or more sets before they sell out.
“Journal writing, when it becomes a ritual for transformation, is not only life-changing but life-expanding.” – Jen Williamson
I journal quite often but I haven’t made a journal specifically for the weekend in ages!
There are many types of these journals and not only in how you make them but what you do with them. Such as, include photos, day trips, parties, walks in nature, what you are reading, movies, gatherings with friends and family and so forth. In my journal, I recorded a few of my activities I did over the weekend and memories that came to my mind.
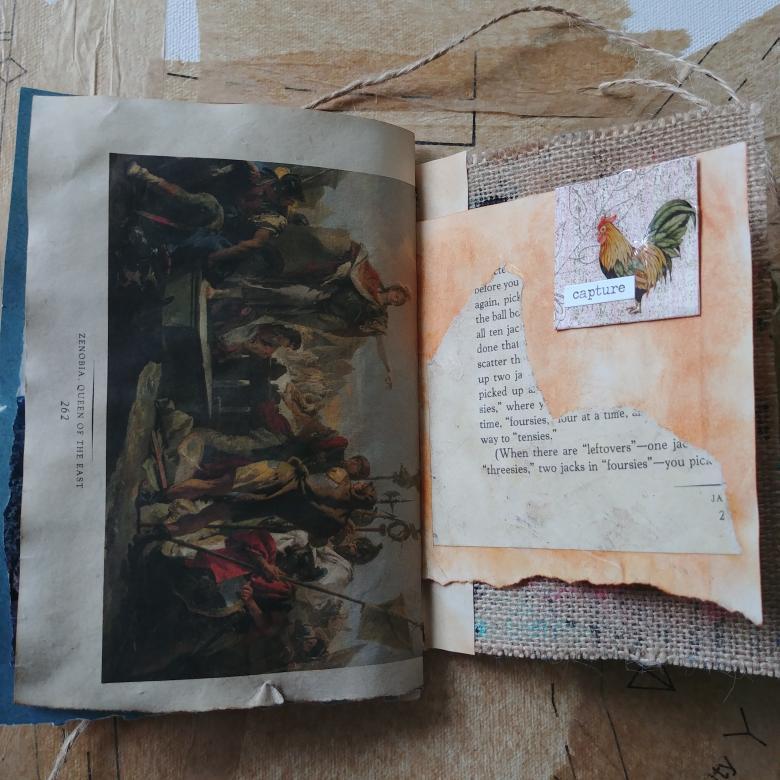
While I gathered paper to use as my signature, I came across paper with illustrations of people playing baseball and that took me back to when my family, friends and I use to go to the Braves games all the time down in Atlanta. Wonderful memories to look back on. I wrote that down after I included the pages to my journal.
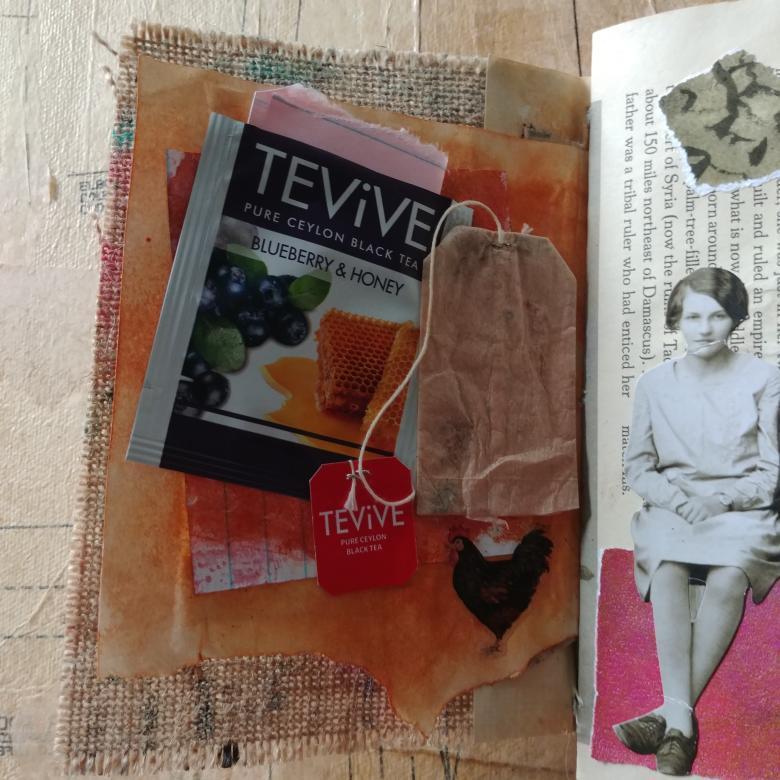
It is not often I journal about food or drink unless it is a special occasion. Well, I had a reason to make a page about tea that a friend sent me in the mail. She had sent the tea to me a few weeks prior but I wanted to wait for a special moment to drink it. This past weekend was a perfect moment.
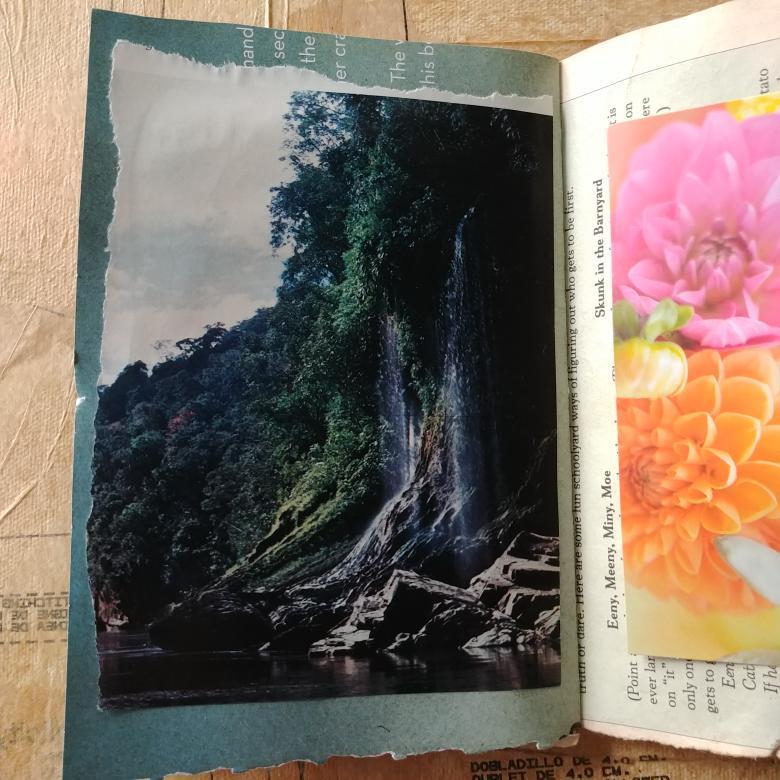
I love to explore waterfalls and it has been a while since I’ve been to one. I came across this image of a waterfall and it made me long to visit one this fall. What a great image to add to your journal.
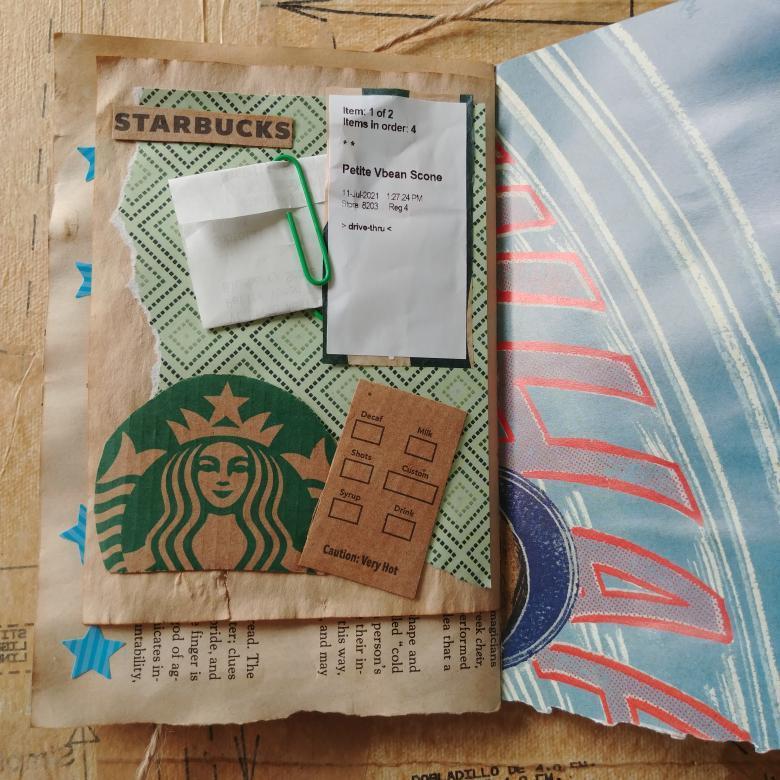
My birthday was in June and my brother gave me a gift certificate to Starbucks. I rarely go buy coffee there anymore so that was a special treat. I took my mother along with me and we ordered special drinks and scones. It was a nice outing with her and I was delighted to have the opportunity to journal about it.
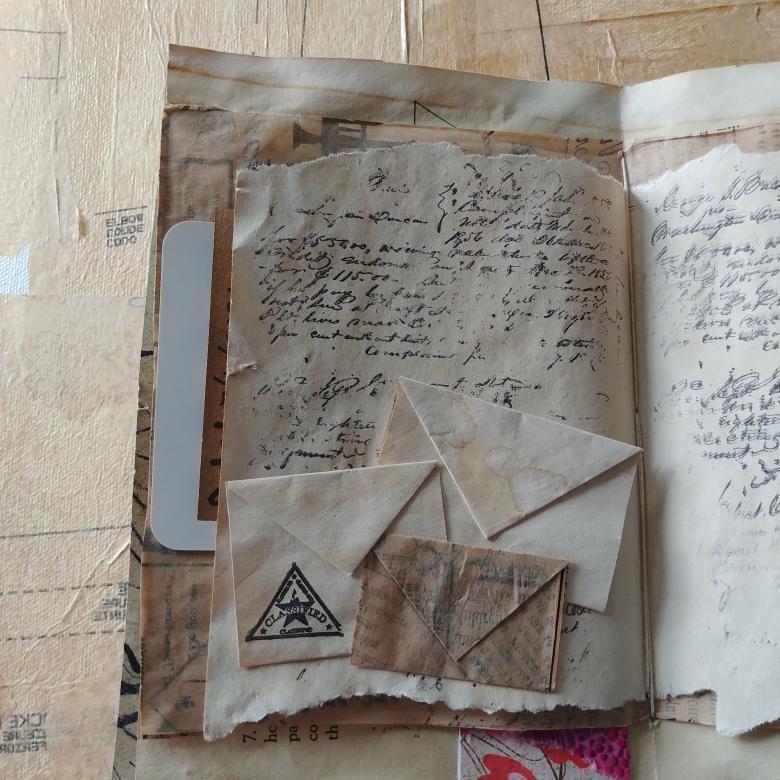
One of the activities I did over the weekend was watch a Youtuber make DIY mini envelopes embellishments to make and bunch together and place in journals. What a great idea! You can even use them as tucks and pockets. I decided to make a page using them so I will remember this technique. I’m thinking about including them in all my journals.
How I made the journal:
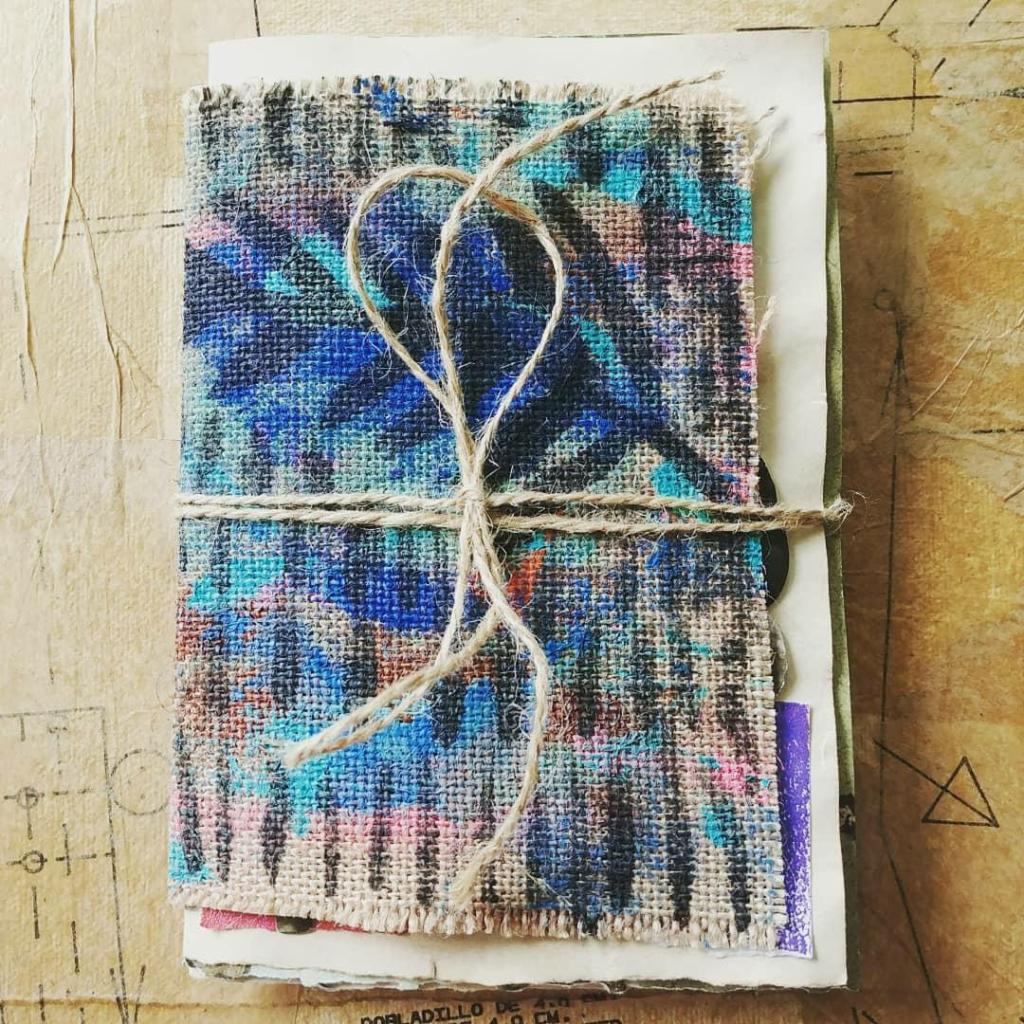
I had painted a scrap piece of jute a year or so ago and had put it aside. I had forgotten about it until I came across it on Friday and thought it would make a cool journal cover.
I gathered my paper, thread and needle and crated a floating spin for this journal. The reason for this was because if I had sewn into the jute, it would have eventually unraveled. I sewed the signature onto a strong piece of paper-I usually use fabric-and glued it to the jute. Then I took scrap paper and glued it on the sides of that paper to secure it better.
From there, I decorated my pages and made secret pockets for my writing throughout the weekend. Really simple and fun to make. Not all the pages are shown but it is enough for you to get the idea. I hope you enjoyed this post!
Check out my art journey on Instagram and at my Mixed Media Art Gallery here at Layered Pages!
My wish is for you to be inspired and encouraged. -Stephanie
How to make pretty journals made out of trash and leftover or found materials around your home.
Welcome to Layered Page and thank you to those who follow my blog. Today is part three of my mini junk journal series where you will discover ways to use recycled materials to make pretty journals without breaking the bank. It is possible to make pretty journals with junk or recycled materials as I like to call it!
My objective when creating these junk journals is to use old ephemera AKA recycled materials, packaging, scraps of paper that I would otherwise throw out.
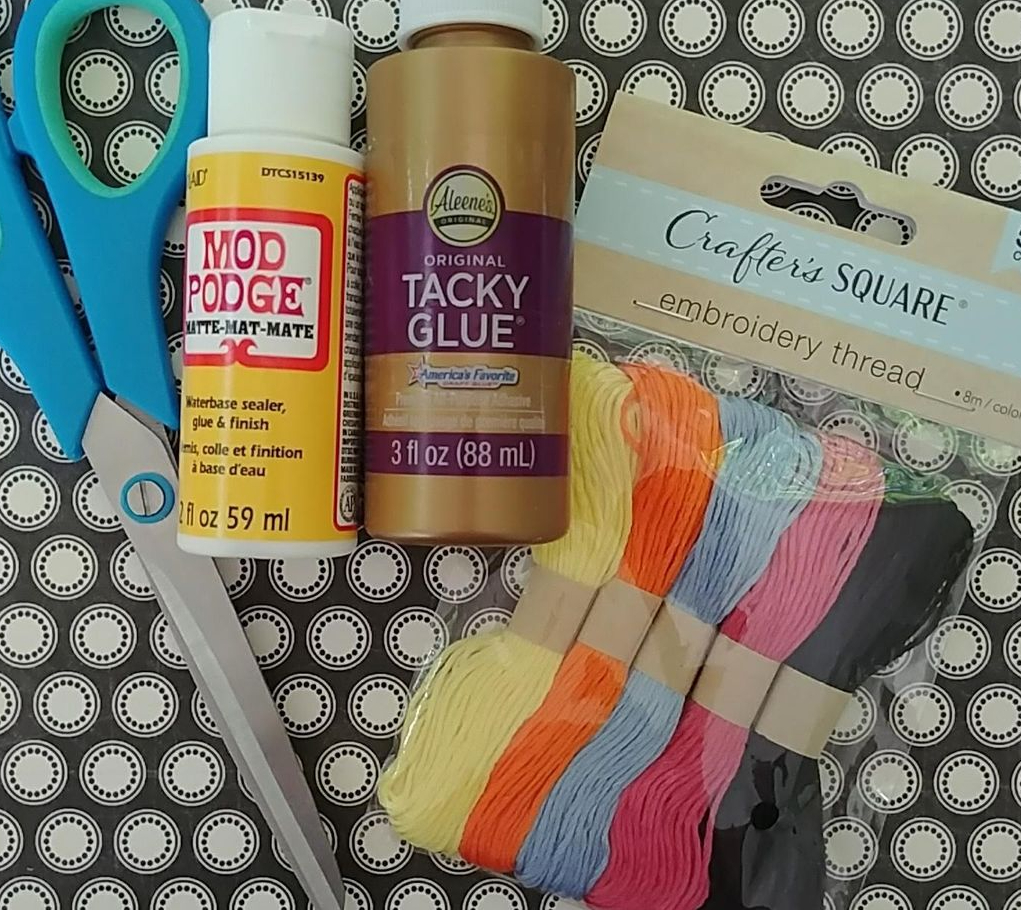
In today’s junk journal, I have to admit I used a new material to bind this journal. I wanted to see how Dollar Tree thread held up. I thought the thread would break as soon as I bound and tighten the signatures in the journal. I was shocked it didn’t! So far, it’s held up really well. I’m getting ahead of my self here. Let’s start from the beginning.
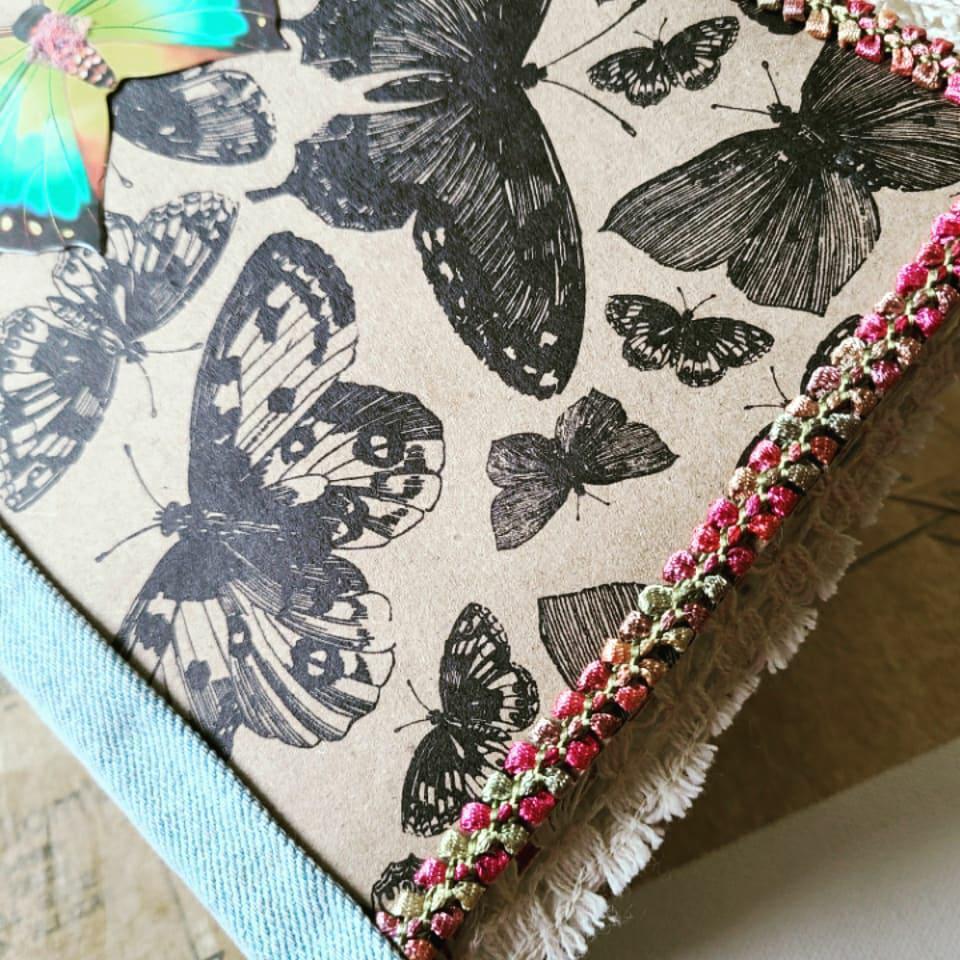
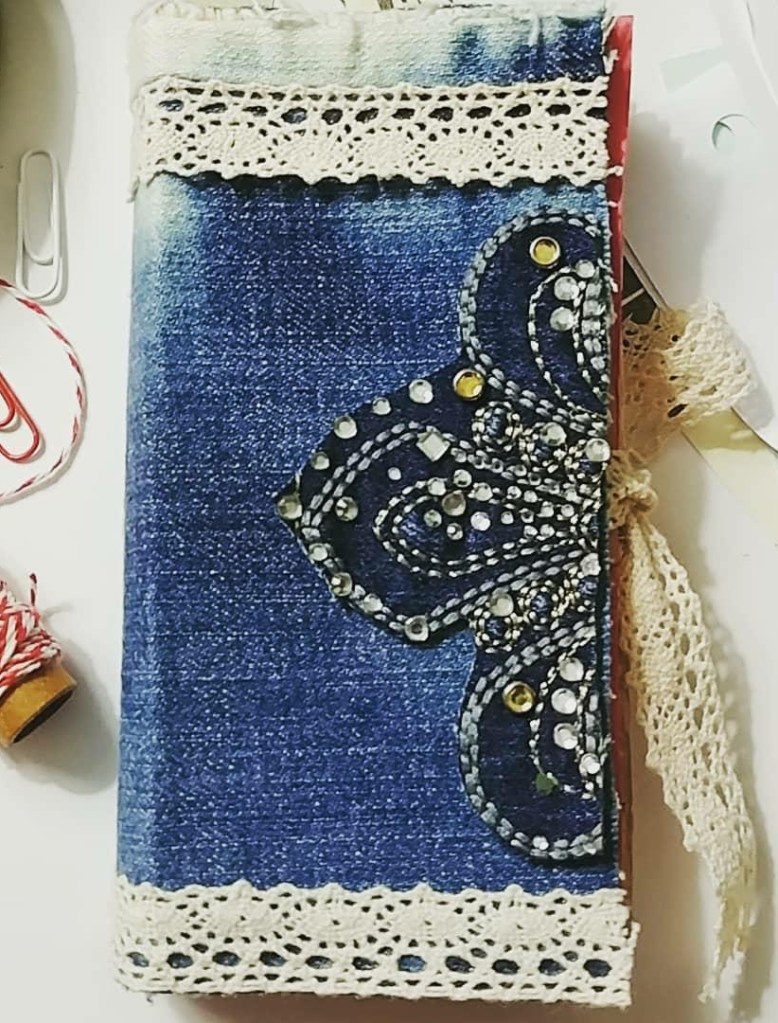
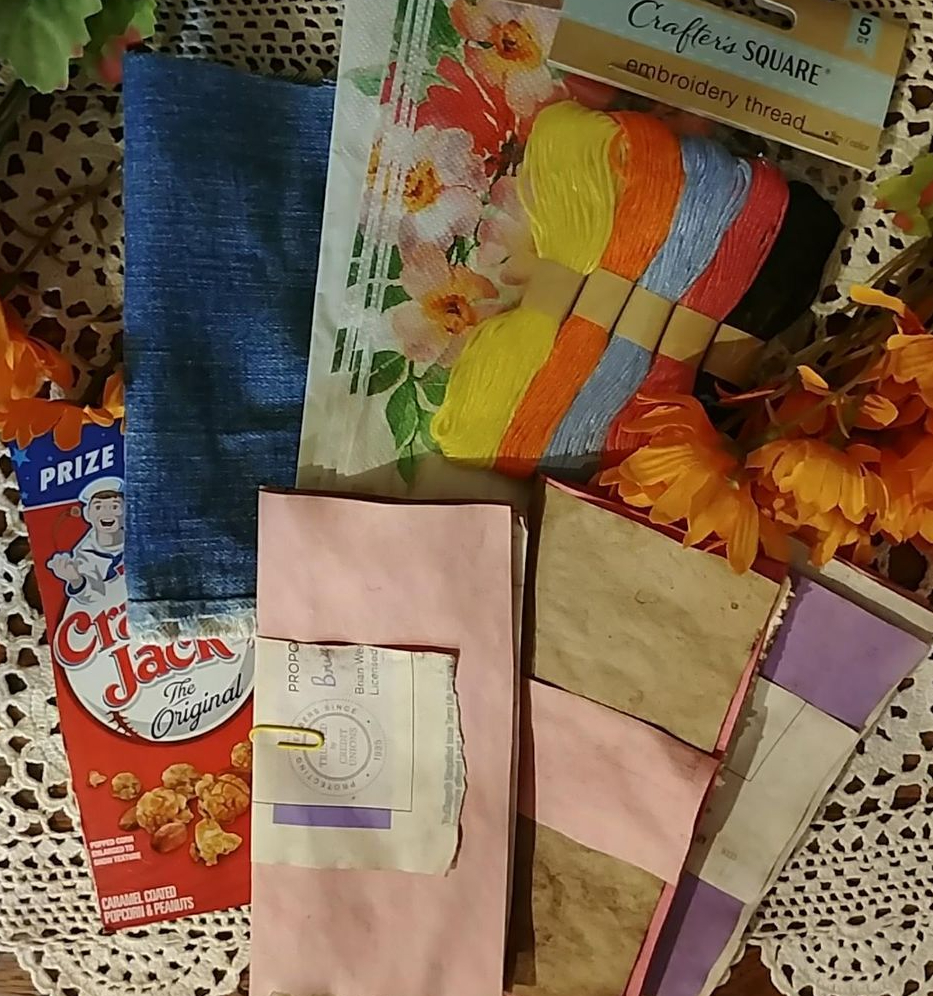
I took a cracker jack box to use for my journal. Every time I look at one of those boxes, it takes me back to my childhood. Anyhow, I’ve been wanting to make a denim journal cover for a while now and I had a scrap piece left over from the quilting project. Keep those fabric scraps! The bling on the cover is from an old worn out pair of jeans I kept. It was in no condition to donate to a charity shop and there was no way I was about to throw them away.
The inside of the cover is collage with packaging from the mail. Those are great to keep for your projects.
Signatures in Place
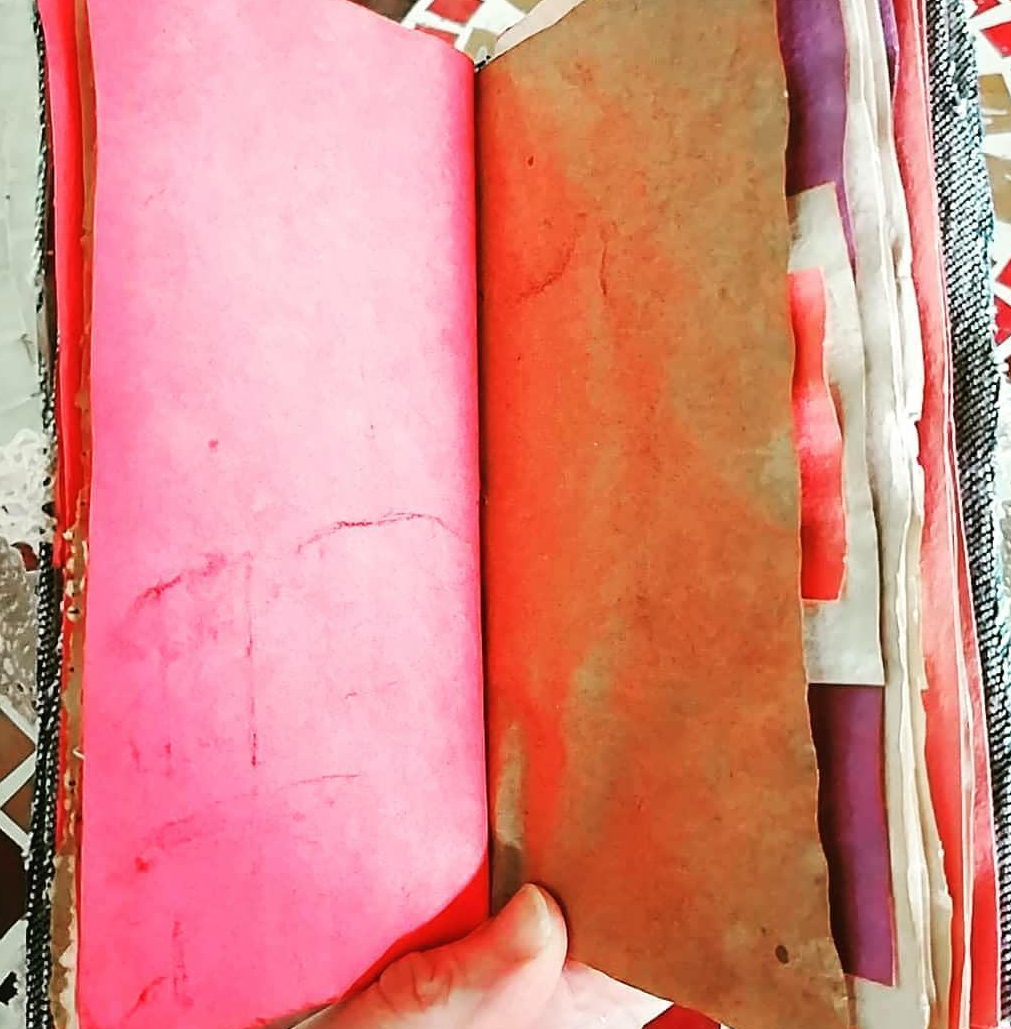
The signatures are made up of junk mail, scraps of construction paper kids use for crafts. I decided to coffee dye those papers to give them an old look and they feel so crinkly! Love it! I will do a post on my coffee dying process soon. Now that the journal is constructed, I will begin decorating and journaling the inside pages.
Be sure to take a look at my Mini Junk Journal: Part I. This post will give you more details in my process of constructing a journal.
Check out my art journey on Instagram and at my Mixed Media Art Gallery here at Layered Pages! Often times, I post my decorated journal pages on Instagram.
My wish is for you to be inspired and encouraged. -Stephanie
How to make pretty journals made out of trash and leftover materials around your home.
Welcome to Layered Page and thank you to those who follow my blog. Today is part two of my mini junk journal series where you will discover ways to use recycled materials to make pretty journals without breaking the bank. It is possible to make pretty journals with junk!
My objective when creating junk journals is to use old ephemera AKA recycled materials, packaging, scraps of paper that I would otherwise throw out.
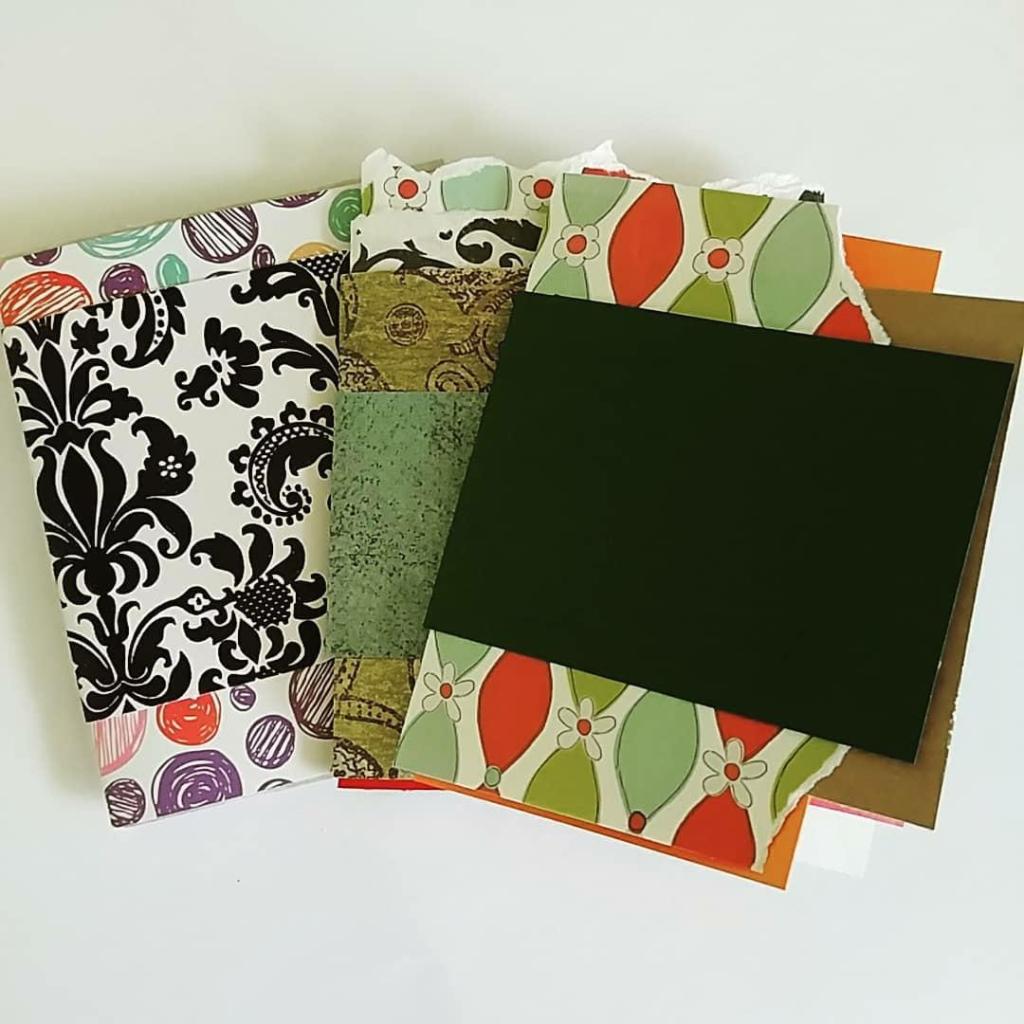
This junk journals cover is covered with old dictionary pages, scraps of scrapbook paper and a baby wipe I used during painting. The scrapbook paper I used has been cut down so many times for other projects, I decided it was time to either use the leftovers or to throw it away.
I hope you enjoyed this second part of my new series and if you have any questions about my process, please do not hesitate to ask below in the comment area.
Part III in this series, I will be using a cracker jack box and scraps of fabric. Stay tuned!
Be sure to take a look at my Mini Junk Journal: Part I. This post will give you more details in my process of constructing a journal. One thing I did change this time was to start on the outside of the spine to bind the signatures.
Check out my art journey on Instagram and at my Mixed Media Art Gallery here at Layered Pages! My wish is for you to be inspired and encouraged.
How to make pretty journals made out of trash and leftovers.
Welcome to Layered Page and thank you to those who follow my blog. Today is part one of my mini junk journal series where you will discover ways to use recycled materials to make pretty journals without breaking the bank. It is possible to make pretty journals with junk!
I love taking things you would normally throw out and use them for my crafting projects. It is a fun, creative, rewarding and a cheap way to craft. Junk Journals are books made through found objects, and recycled materials. In this five part series, I will be showing various ways I use those materials in my mini journals.
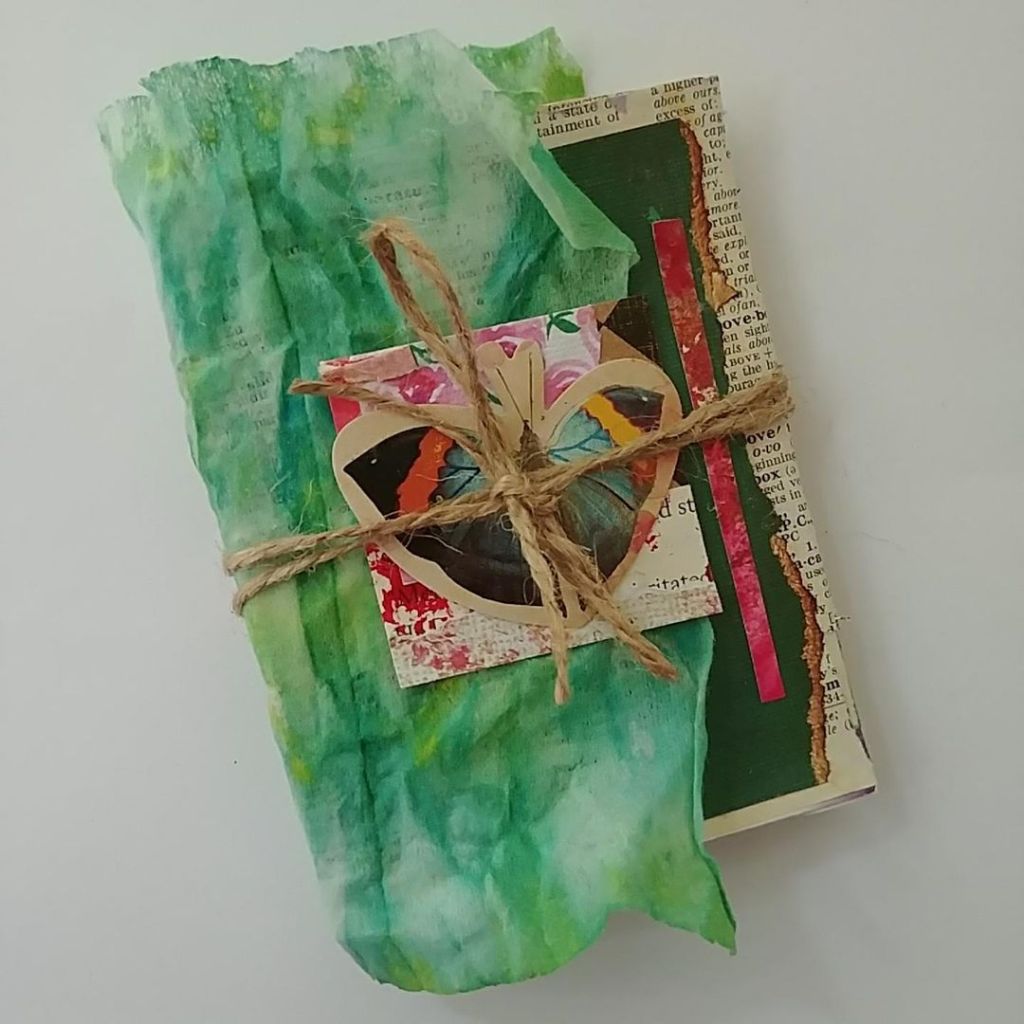
This past Easter we did a lot of baking and I had the opportunity to grab a Pure Vanilla Extract box to up-cycle. Hooray! In the slideshow below, you will see my process of making the journal. I used to newspaper from a packaged I received in the mail. I love when painting companies wrap the paints you order in newspaper or shipping package. Never throw those out. You can use them for all sorts of crafts and art making.
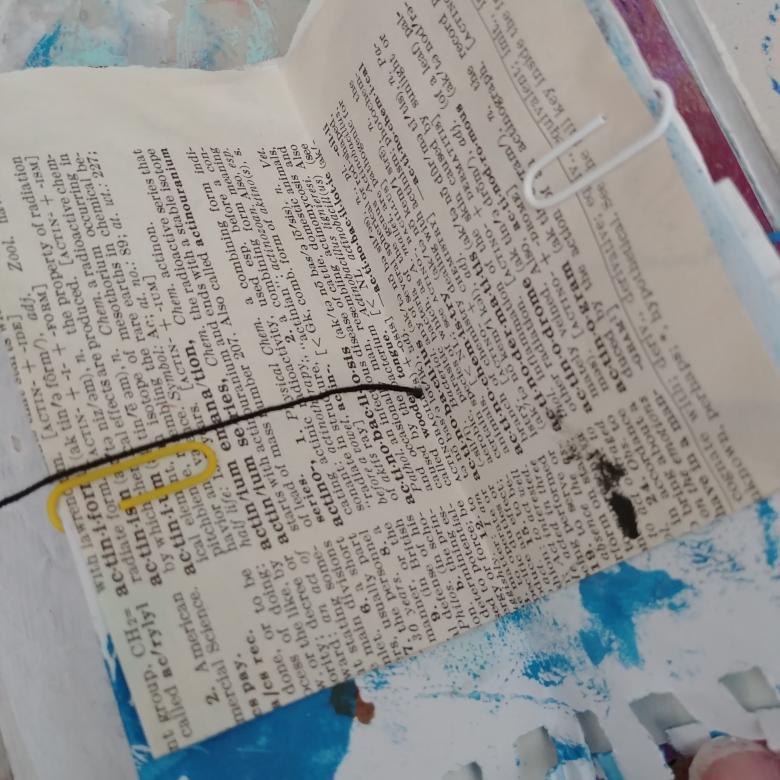
I cut the taps off and used cheap glue to add the newspaper to the outside and inside cover. Often times I use Dollar Tree glue for these projects. No need to use expensive art craft. Then I covered it with a thin layer of paint. You can use paint, white gesso, coffee to stain your cover, markers, crayons and etc…Or just use scrap paper collage. A create source for that is from your junk mail. Recycled fabric is another great material to use for covers. Do what feels right to you. Next, I grabbed some of my leftovers paints AKA painted papers and used that to start making my signatures.The paper with words on it, is from an outdated Webster Dictionary that was headed to the dumpster. Be sure to know the size of the journal to determine the size of your pages. I usually go a little smaller on the pages. Again, do what feels right to you. Some crafters like their pages to stick out. Mix it up and have fun with it. Once I have them organized in the order I want them in my journal, I’m ready to attach them to the spin. I used leftover black cotton thread this time. If you do not have a paper piercing kit, you can use a sharp sewing needle to poke the whole in the spin and to attach the pages.
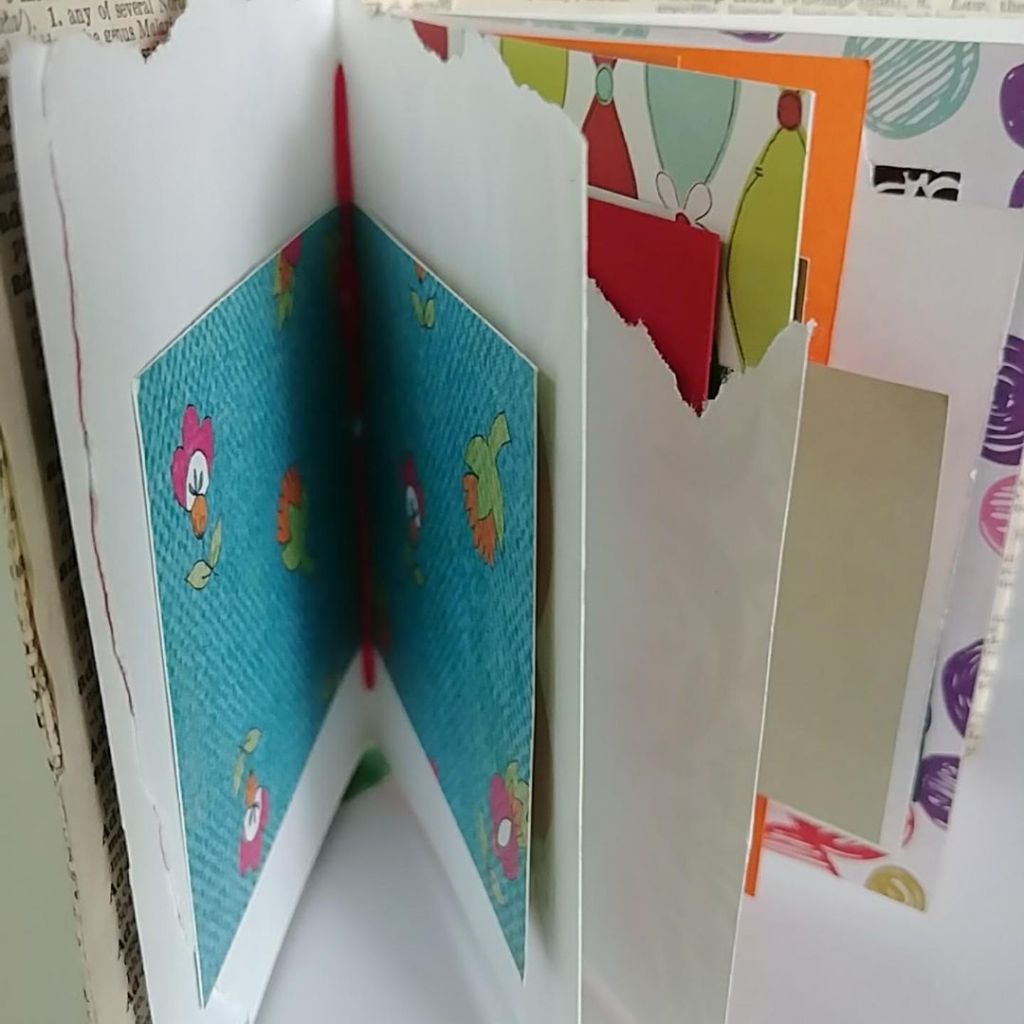
When attaching the pages, I like to start in the inside middle (see pictures). Don’t feel stressed if you don’t get it perfect. It is a junk journal after all. I like mine to look a bit sloppy. Gives it the homemade look it is suppose to have. The more you practice the better you will get at this step. One the signatures secured, I cover the outside spin with recycled paper or fabric. Then I finish decorating my cover. For ephemera AKA embellishments, I use my leftover scraps/chipboard from this project. The chipboard are the tabs I cut off from the Pure Vanilla Extract box.
This project took me just under an hour to complete. If you are looking for more crafting ideas for your kids, this is it. Please supervise the project due to using scissors and a needle. Another great idea for signatures is to use your children’s school pages or drawings. As a parent, I know those things pile up fast and often times we feel we have no choice to let go of some of them.Why not use bits of them for your journals?
I hope you enjoyed this first part of my new series and if you have any questions about my process, please do not hesitate to ask below in the comment area.